Selling Fuel
Do you sell fuel?
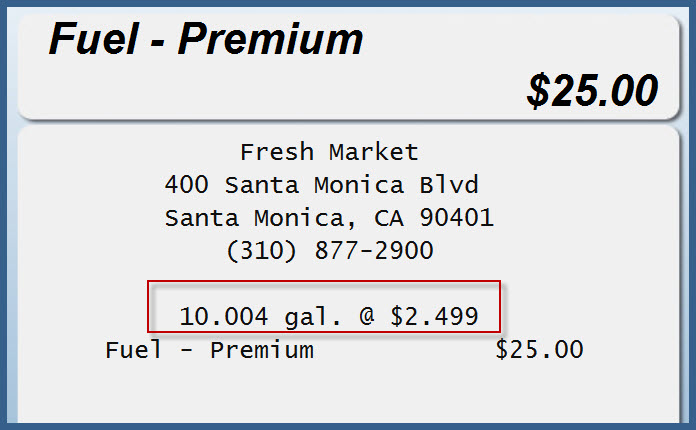
Fuel sales have unique receipt requirements. You need to display quantity sold and price per gallon to the third decimal place. To have StoreTender automatically create the proper receipt, follow the steps in this article.
Set up your fuel department
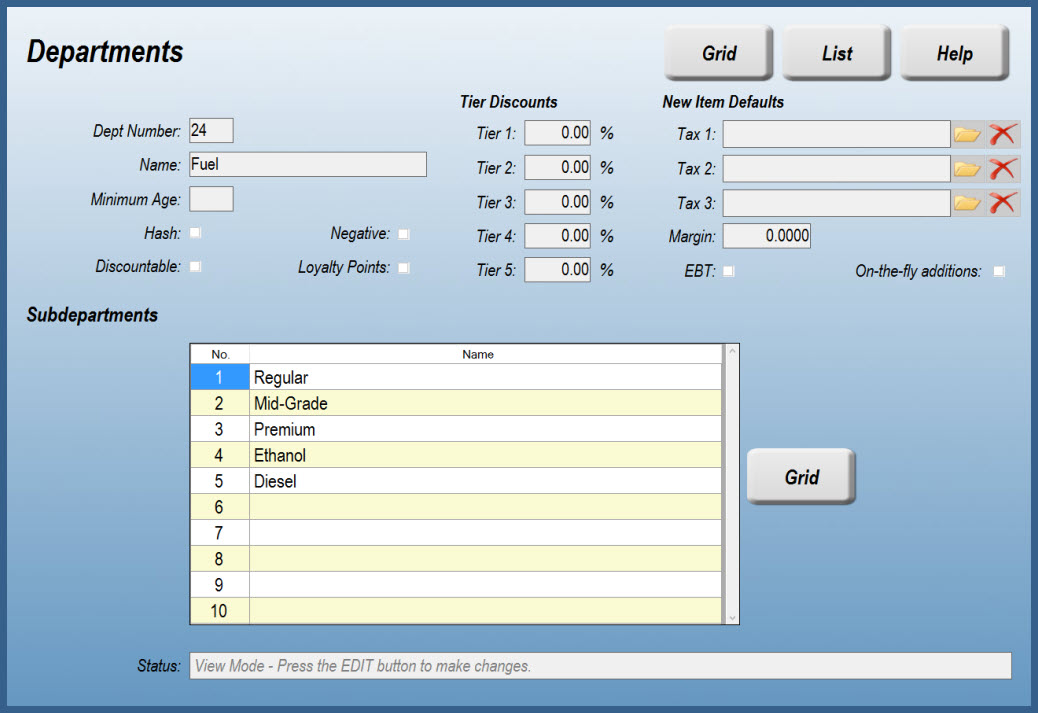
Create a Department for your fuel sales. You must name the department "Fuel". To help with reporting, also create Subdepartments for each grade of fuel you sell, if you wish.
Create your fuel products
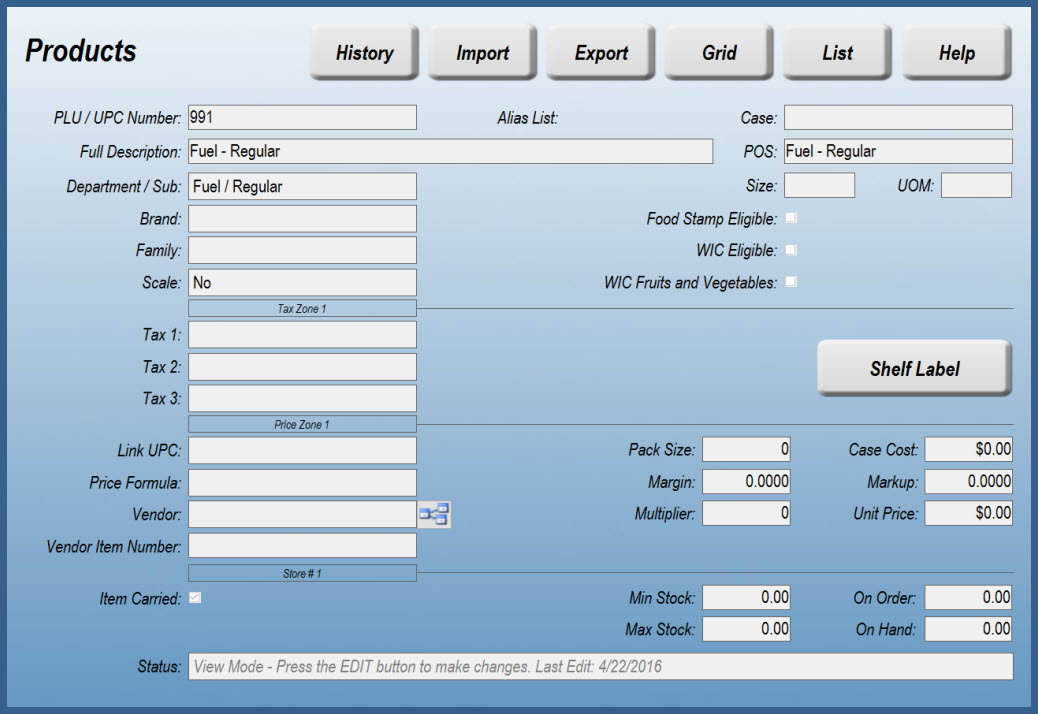
Now that your Department is set up, create a Product for each fuel grade you sell. Enter a PLU, Description and select your Department/Subdepartment. There's no need to enter a price here - the prices are set on a different screen.
Set your fuel prices
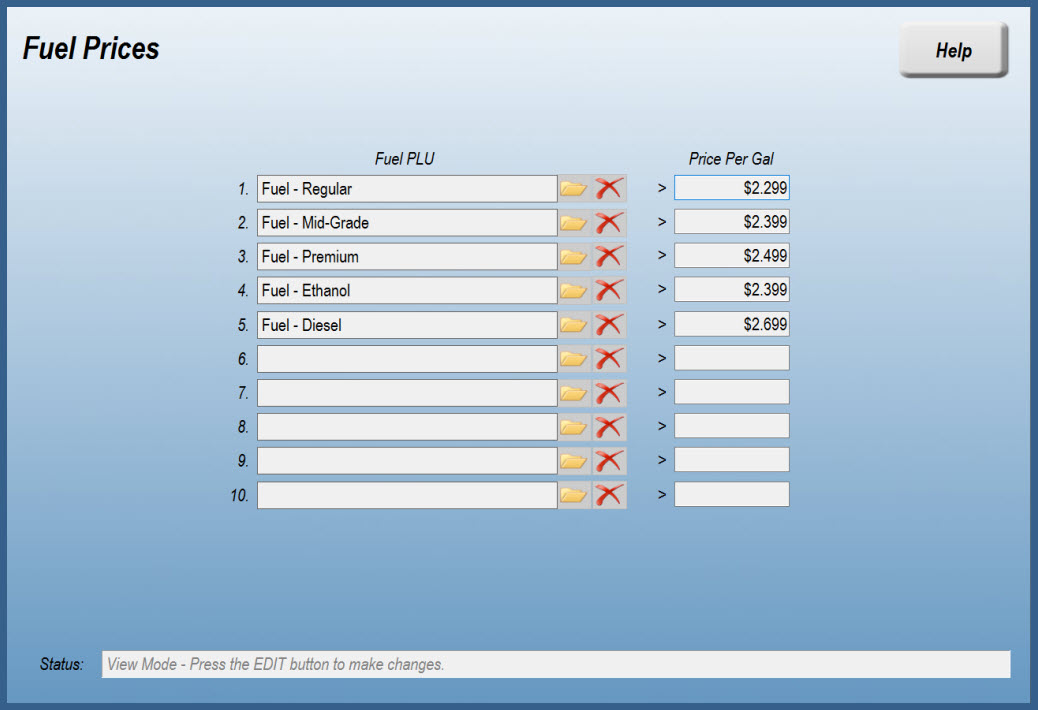
Navigate to the Fuel Prices screen. From the Main Menu go to Data > Inventory > Other > Fuel. On this screen, select each Product you created above and set the price, to the third decimal place.
Create fuel screen and/or buttons
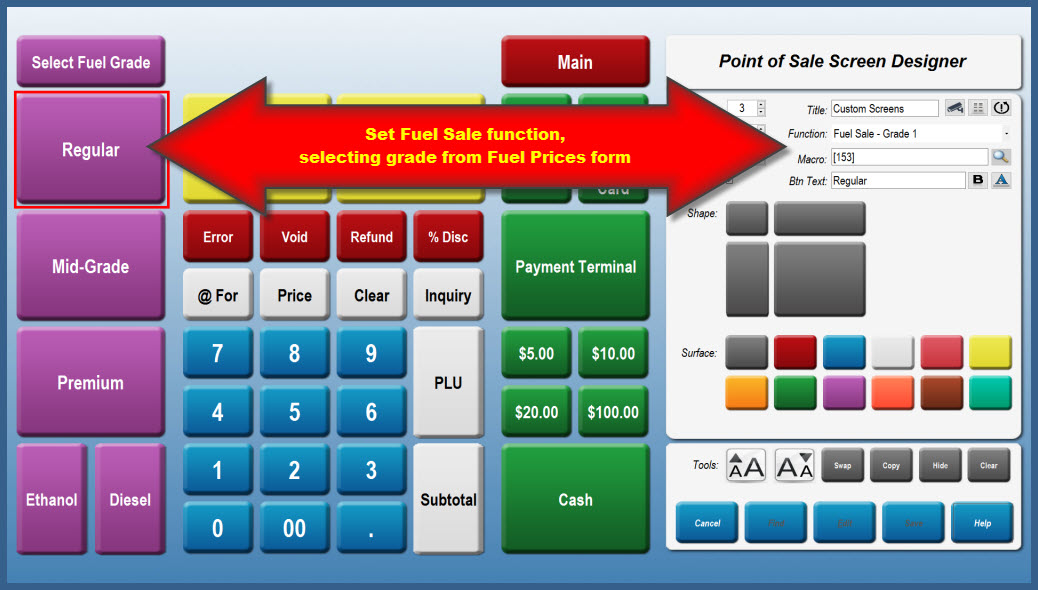
You're almost done! Now, go to the Screen Designer (Setup > Store > Other > Screens). In the example below we've created a screen for fuel sales. However, you can apply the Fuel Sale button(s) to any screen you wish.
When creating the button for the fuel grade you wish to sell, use the Fuel Sale function. Select the grade corresponding with the grades you created in the previous step.
Sell fuel at the POS
Now that you have your Departments, Products, Fuel Prices and Screens all set up, SYNC your POS stations. You sell fuel by entering the dollar amount, followed by the Fuel Sale button. The POS will calculate the amount of fuel sold and display that, along with the price per gallon, to the third decimal place.
Reporting
You can generate reports showing the dollar amount sold per fuel grade by running the Inventory Sales report (Reports > Inventory > Sales > Inventory). As of version 8.4.5, this report will also report the quantity sold (gallons), rounded to the 2nd decimal place.

